
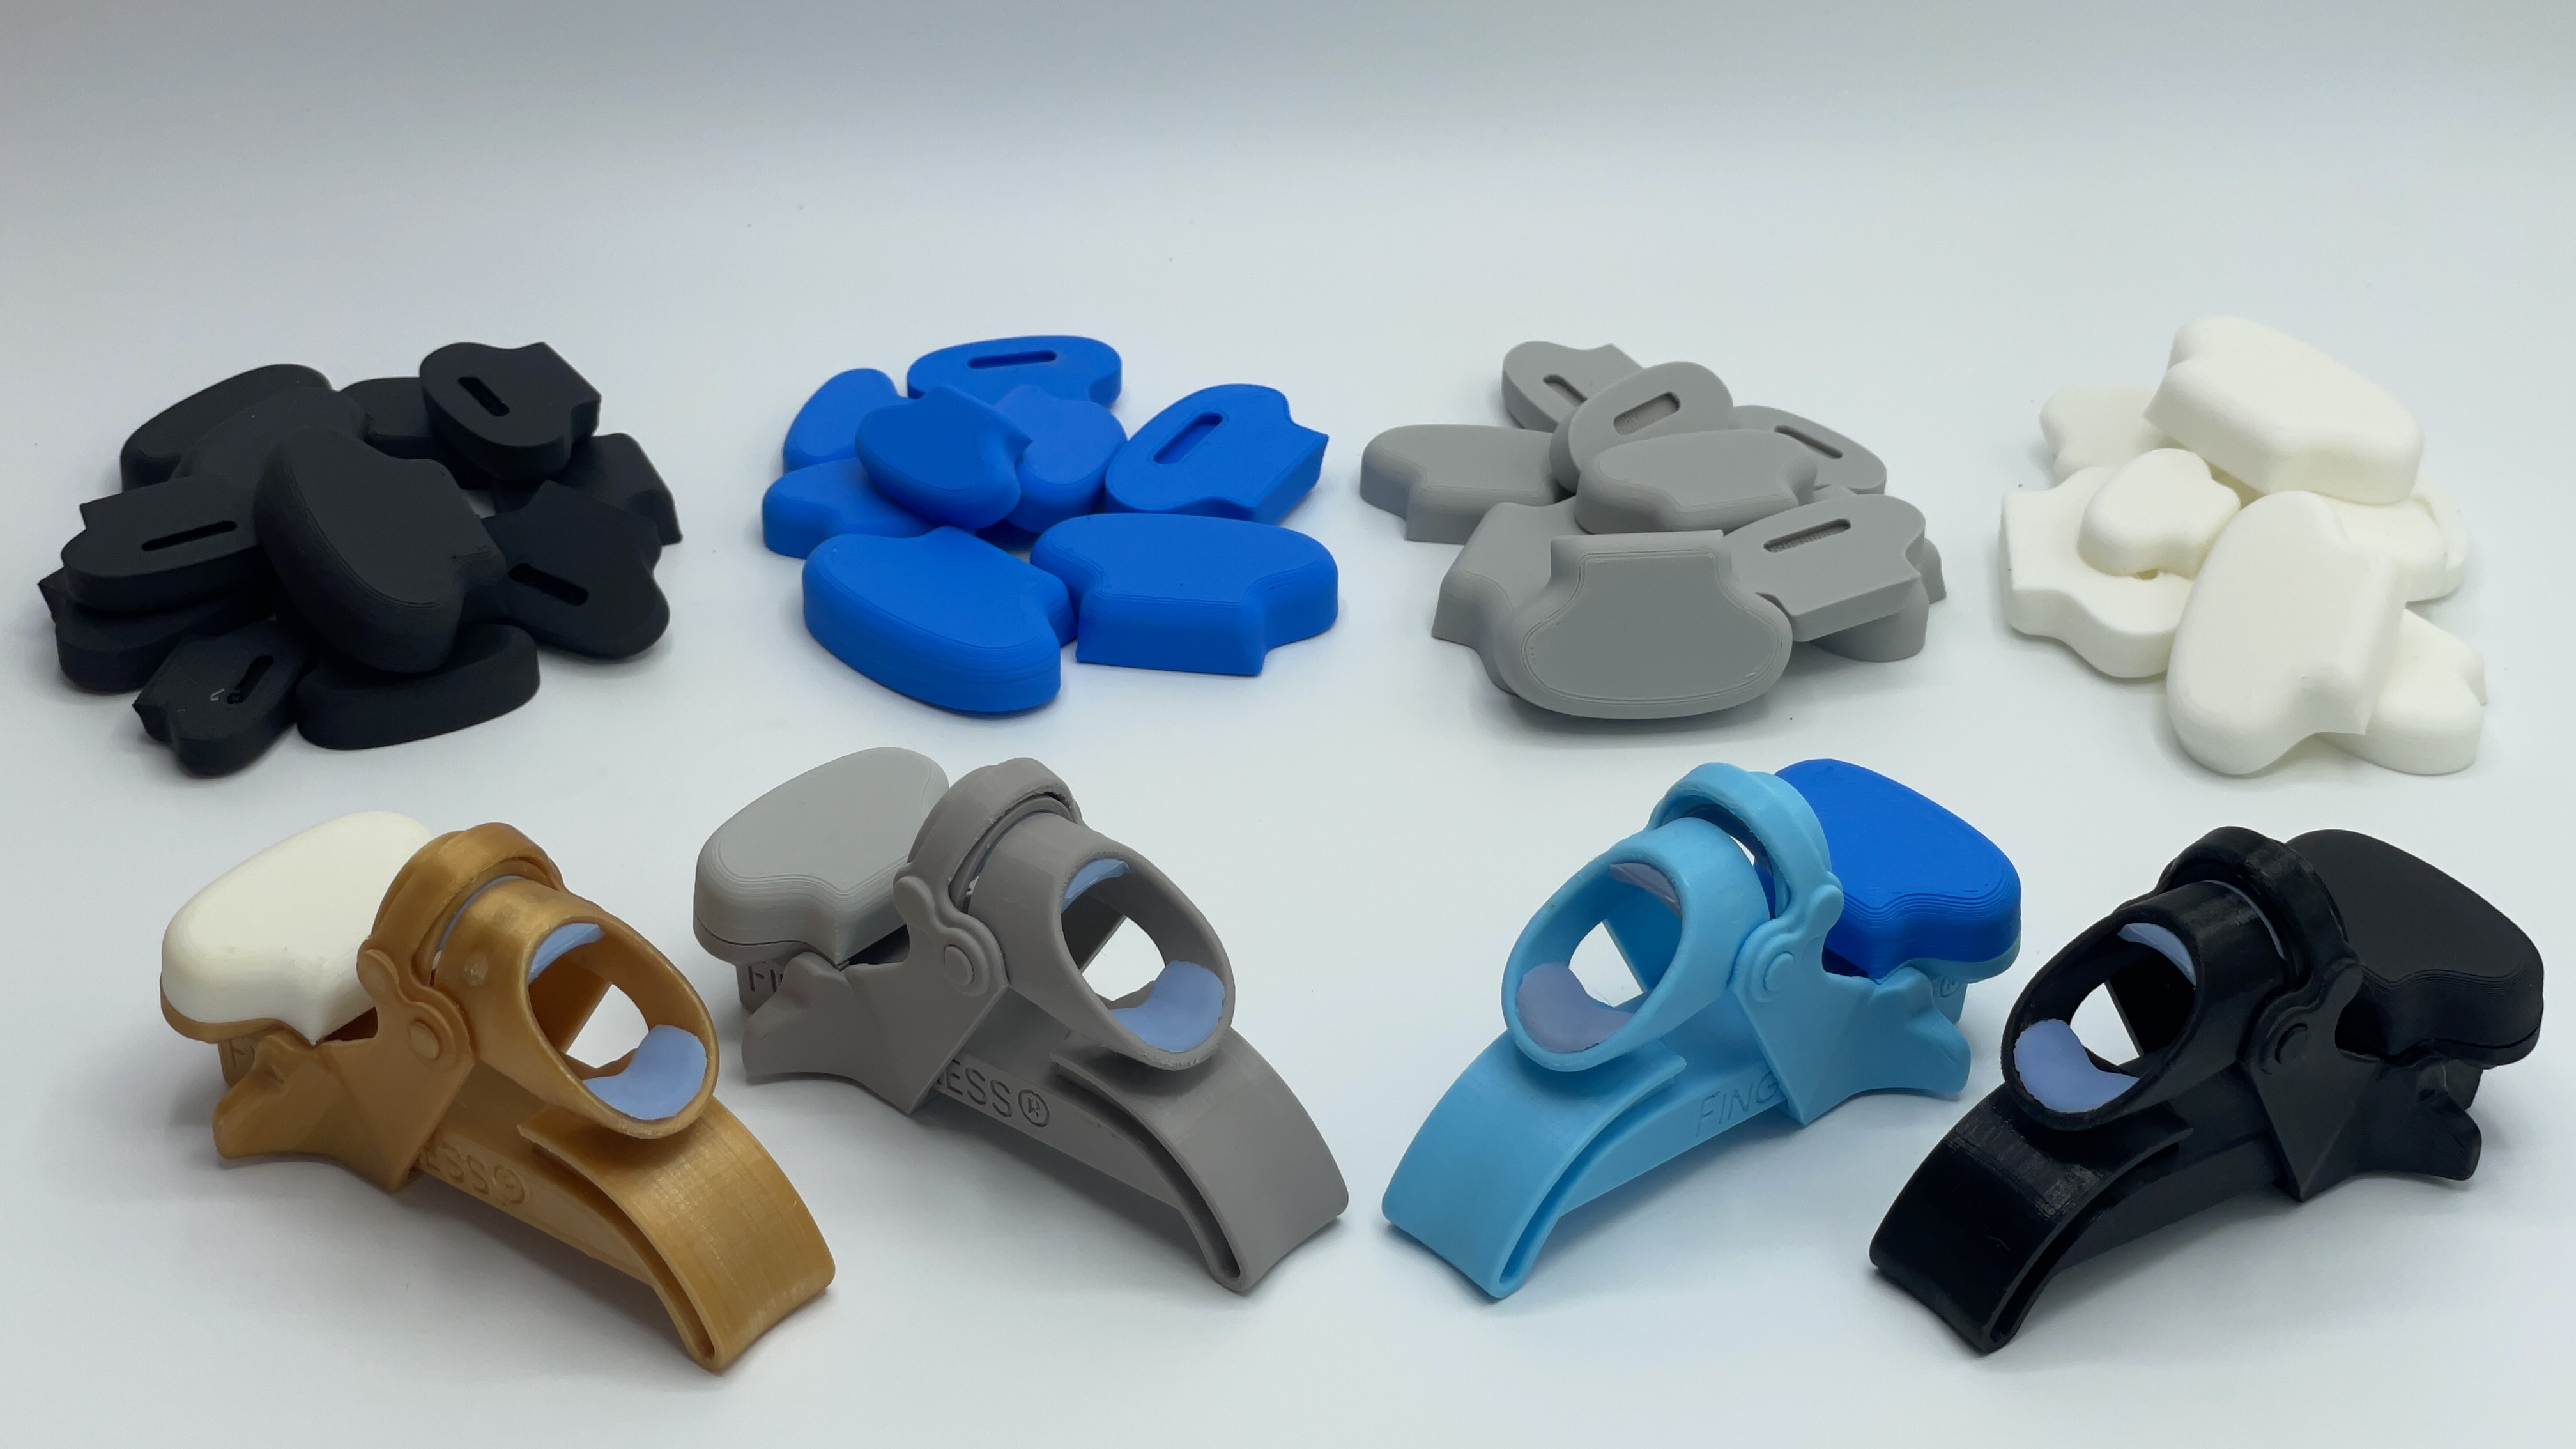

3D printing is an incredibly versatile way to manufacture parts. But there is only so much that you can do with rigid materials. When you need to make something as plush and comfortable as a FingerPress palm pad there is one filament manufacturer that should come to mind: Ninjatek. They make TPU and TPE materials soft enough to be measured on the Shore A hardness scale.

At OrthoPress we have used several different Ninjatek filaments over the years. Our original FingerPress model was white PETG plastic for the rigid parts and a combination of blue Ninjaflex and blue Cheetah for the pad. Ninjaflex (85A) was the softest option available at the time and it made the pad comfortable. The slightly harder Cheetah (95A) was used on the bottom layers to reduce friction where the slide rubbed against the pad, making the device easier to use. This multi-material printing was done on an Ultimaker 3 and it wasn’t easy, even with the advantages of the thicker 2.85mm filament. Ninjatek’s patented filament texture helps the filament keep moving down the tubes, but it’s still a treacherous task.
The big problem with flexible filaments is that they are lazy. The filament’s job, at least until it is finally melted and squirted through a tiny hole, is to push its own doomed self into the heat zone. It makes sense that there would be some resistance against having to push yourself down a hole to be melted and squirted out; I’d resist, wouldn’t you?
So there is some resistance in the hot end due to fluid dynamics, and there is resistance from friction inside the tube leading from the extruder gears to the hot end. Ninjatek’s proprietary surface finish effectively reduces the friction in the tube which makes the filament’s job easier. But it’s still going to be lazy and try to escape its duty if not kept on a straight and narrow path.
Modding the Ultimaker 3 for Flexible Filaments
Check out the Ultimaker 3 extruder where blue Ninjaflex is being pushed up by the steel gear into the white tube. First, there’s a large space between the gear and the tube. Second, the filament doesn’t have to be pushed toward the heat zone when it can bend out and escape its fate. Third, a short length of PTFE tube with side cutouts has been fitted between the gear and idler wheel; this tiny mod prevented 100% of filament escapes!


Now that you’ve seen how we solved the problem of Ninjaflex 85A jamming in our Ultimaker 3, let’s explore an even harder problem: the much softer Chinchilla 75A jamming in our Original Prusa i3 MK3S+ printers!

Modding the Prusa MK3S+ for Flexible Filaments
You might think the direct drive Prusa would print flexibles more easily than the U3 with its long bowden tubes. However, the extra softness of the Chinchilla filament makes it extremely good at exploiting gaps in the filament path. And the 3D-printed Prusa parts come with flaws that encourage the filament to escape.

Examine the Prusa extruder body. The filament has a very short distance to travel to the PTFE tube and the narrow plastic channels seem to leave very little room for escape. This is thanks to recent design improvements, hinting that Prusa cares about flexibles. However, in three out of three i3’s we have had constant problems and we found these parts to be the cause. Tiny defects in surfaces or alignment are enough to snag the Chinchilla and send it snaking out of the tiniest opening.
To fix this problem, we first tried printing the Prusa parts with finer nozzles and layer heights. This didn’t help, and neither did our attempts at fixing the tiny defects with a sharp knife. So we tried repeating the hack that worked on the Ultimaker: constrain the path with PTFE tubing.
Here are the steps:
- Carve out the narrow plastic channels so the PTFE tube can extend up to the gears. (Use CAD or literally carve it out. Just be precise so the tube stays in alignment.)
- Cut a new piece of tube about 2cm longer than the original Prusa part.
- Trim the top of the new tube so it has two points that will fit between the gears.
- Reassemble while making sure the gears are aligned with the tube to avoid snags.
Here we have a photo of the extruder gear with the door open and black Chinchilla installed. The modded PTFE tube sticks up through the narrow plastic channel to take up the space between the gears. This one looks like it was a little bit too tall because its tips bent out a little bit, but it works.

This is the mod that gave us reliability and sanity. Before this, we would be lucky to get 50% yield without jams. But we still do get jams if we don’t pay attention to the other major factor: pressure buildup.
Avoiding Pressure Buildup with Flexible Filaments
Smooth printing depends on the ability of the filament to flow easily through the nozzle. If there is anything preventing this flow, the extruder will have to transmit additional force through the filament to overcome the resistance. This additional force deforms the filament, pressing it harder against the walls of its path, increasing resistance even more, ultimately causing jams and failed prints.
Here are common causes to check:
- Z-axis calibrated too low. This usually results in a jam on the first layer.
- Clogged nozzle. A partial clog can cause a jam at any time during a print. Jams can cause clogs, too, when for the rest of the print the hot end just cooks the filament to a crisp.
- Custom g-code or firmware. Avoid automated purging which can be too aggressive. Change filament manually. Adjust the intro line g-code to extrude less volume.
- Not enough heat. The heat should be chosen to match the print speed.
- Wrong nozzle. Did you try to run a 0.8mm slice through a 0.4mm nozzle?
- Wrong speed. Try slowing down. Check related settings like deretraction speed.
- Too many models, travel and retractions. Try sequential printing.
What about the Prusa MK4?
The latest i3 model has an all-new extruder with a load cell for directly sensing the build surface during z-axis calibration. With that and many other improvements, the MK4 made the most beautiful flexible prints right out of the box. However, it’s still not immune to jamming on Chinchilla. Out of around 20 prints, we have had two jams where the filament escaped between the gear and the tube. That’s as good as the modded MK3S+ printers, but the MK4’s prints are just so much better-looking that we haven’t bothered to try fixing it.
We haven’t reached perfection but we’re happy. May you achieve 90% yields on flexibles as well!

A beautiful Chinchilla pad being printed on a Prusa MK3S+, 2 walls, 25% infill gyroid.